[MicTrigger] [![]() OBS] [
OBS] [![]() VTS] [
VTS] [![]() ANM] [FAQ]
ANM] [FAQ]
[Setup connection] [Switch scene/source] [HotKey/Stream/Screenshot] [Tips]
MicTrigger switches ![]() OBS scenes/sources according to voice.
OBS scenes/sources according to voice.
Requirements
- OBS version 28 or later (for OBS websocket 5)
- Android connected with WiFi (to connect OBS studio on PC/Mac)
*For settings about voice response (volume and length), calibrate in Calibration screen.
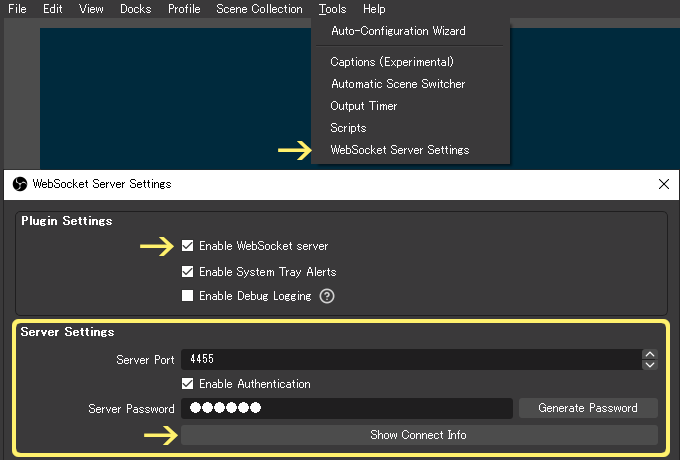
Setup connection with OBS
- In
 OBS menu, select Tools – WebSocket Server Settings
 - Set Enable WebSocket server: ON
- (If you need password) Check Enable Authentication: ON and input Server Password
- In
 MicTrigger, open OBS settings by long-tapping
 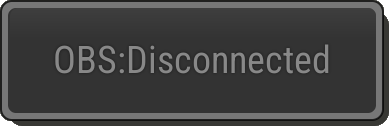 [OBS: Disconnected] button.
(If camera is available on Android)
5-1. In ![]() OBS’s WebSocket Server Settings window, push Show Connect Info button to show QR code.
OBS’s WebSocket Server Settings window, push Show Connect Info button to show QR code.
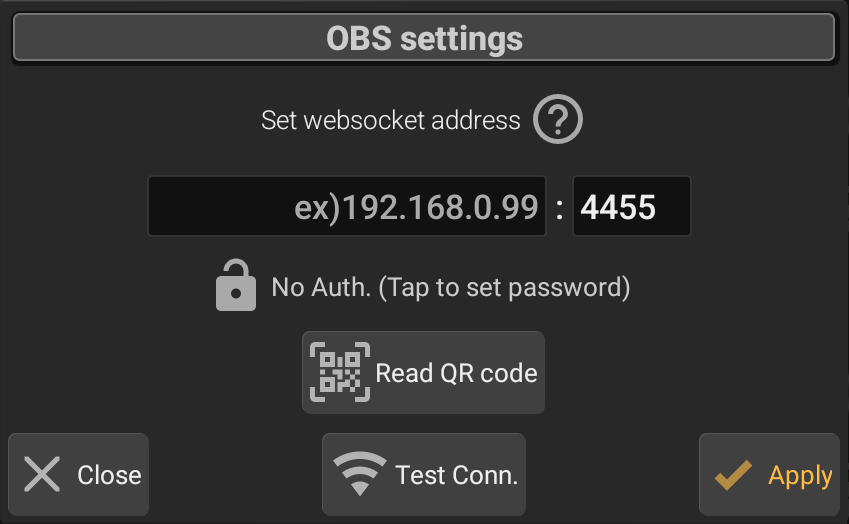
5-2. In ![]() MicTrigger’s OBS settings, tap Read QR code button.
MicTrigger’s OBS settings, tap Read QR code button.
5-3. (If asked for permission to shoot, select Only this time and then) Pointing the camera at the QR code, will set the required connection info automatically.
(When camera is not available, or OBS screen is too far)
5-A. Input the IP address of PC/Mac on which OBS Studio running, then tap Test Conn. to check the connection, then tap Apply.
*If the IP address is unknown, in ![]() OBS’s WebSocket Server Settings window, push Show Connect Info.
OBS’s WebSocket Server Settings window, push Show Connect Info.
*If you set password in step 3, tap center to show password area and input it.
6. Tap ![]() [OBS: Disconnected] and confirm it changes to
[OBS: Disconnected] and confirm it changes to ![]() [OBS: Connected]
[OBS: Connected]
FAQ for OBS connection is here
Switch OBS Scene/Source(s)
Make the following settings while the MicTrigger app is connected (![]() OBS: Connected) to OBS.
OBS: Connected) to OBS.
Switch Scene
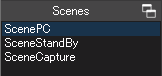
- In OBS, confirm the name of the scene to switch to.
- In MicTrigger, tap (or long-tap) current page icon
 in left menu bar, to change to edit mode
 .
.
- Tap the panel to set switch scene, then choose OBS.
- Tap Scene: and choose the scene to switch to.
- Tap Apply
Show/Hide source(s)
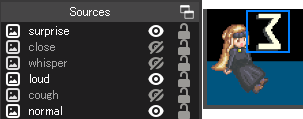
For example, to express the reaction, you can show/hide the layered Image sources according to the voice. To test, download this example set by PC/Mac and overlay the image sources in the same position in your OBS screen, then Set OBS Action in MicTrigger app as followings.
- In OBS, prepare the sources to change visibility.
- In MicTrigger, tap (or long-tap) current page icon in left menu bar, to change to edit mode.
- Tap the panel to set change source(s) visibility, then choose OBS.
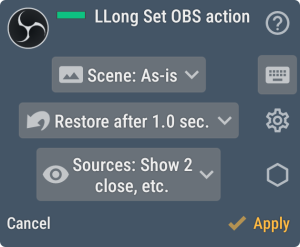
- Tap Sources in Set OBS Action, and set each source’s visibility either of
 Show,
Show,  Hide or
  As-is (no change).
- (For temporary/momentary reaction, if you want to restore the visibility of the changed sources after some seconds)
Tap center Leave as is after change and set the seconds to restore (i.e. hide the shown sources and show the hidden sources, after the designated seconds.) - Tap Apply
Trigger OBS HotKey / Streaming / Screenshot
In Set OBS Action, tap ![]() icon at right, to show HotKey settings, then set hotkey or function to trigger.
icon at right, to show HotKey settings, then set hotkey or function to trigger.
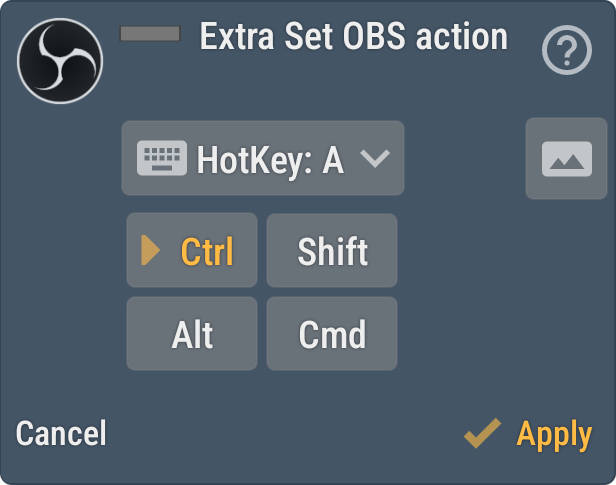

A~Z, 0~9, SPACE~PGDOWN, etc.: Key for the prepared HotKey in OBS – File – Settings – HotKeys. Can be set with Ctrl, Shift, Alt, Cmd modifier key(s).
StartStream, StopStream, ToggleStream: Start / Stop / Toggle OBS streaming.
Screenshot: In OBS, take screenshot of OBS screen.
ToggleRecord: switch to Start / Stop OBS recording.
PauseRecord: In OBS recording, Pause / Unpause recording.
* To avoid overwriting screenshot file, append ‘%hh-%mm-%ss’ or such, to Filename Formatting in OBS – File – Settings – Advanced – Recordings.
Tips
Action On Connect
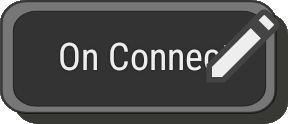
If you want to set scene and/or initialize source(s) visibility when MicTrigger connected to OBS or the page is changed from left menu bar, you can set action for On Connect. You can choose it from bottom-right panel in edit mode.
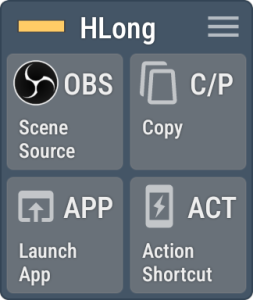
Action label for each panel
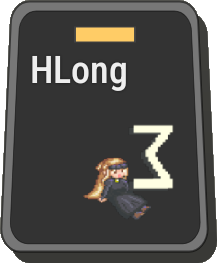
After set OBS sources target, the images will be shown at the panel (up to 3 images for each panel). It is reflected on connected to OBS. However, sources which does not have image keeps the panel empty. Also, only scene switch shows only OBS icon.
For visibility of the function, you can set bottom label by Edit Action Name, from the upper-right ![]() menu button in each panel edit menu.
menu button in each panel edit menu.